


UTV Speaker Installation: A Step-by-Step Guide to Pods, Sound Bars & More

The off-road scene has grown fast in recent years, and so has the demand for better in-ride audio. According to industry reports, the powersports accessories market has seen steady growth as more overlanders, hunters, and farm owners look to make long rides more enjoyable. A growing number of UTV riders say that music is one of the first upgrades they make after buying their machine — and it's easy to see why.
Factory-installed audio in most side-by-sides is either weak or nonexistent. Wind, engine noise, and open-air riding conditions mean that a standard setup simply doesn't cut it. That's where a proper UTV speaker installation comes in.
Here's what this guide covers:
-
The three main types of UTV speakers and how they compare
-
What to prepare before you start any installation
-
Step-by-step instructions for portable speakers, UTV speaker pods, and a UTV speaker bar
-
Wiring tips to protect your investment and improve sound quality
Whether you're a weekend trail rider or someone who spends long hours on the farm, this guide will help you get great audio from your UTV without the guesswork.
3 Types of UTV Speakers: Which One Is Right for You?
Choosing the right speaker setup is the first and most important decision. Each type has its strengths, and the best choice depends on how you ride, how often you ride, and how much sound quality matters to you.
Portable Speakers
Portable speakers are the simplest option for riders who want music without any permanent installation. You just attach the speaker to your roll cage or cargo area using a strap or clamp, plug it into power or run it on battery, and you're good to go. They are a great starting point for casual riders who don't want to commit to a full UTV sound system.

UTV Speaker Pods
UTV speaker pods — sometimes called speaker box enclosures — are a step up in both sound quality and durability. These pods clamp directly onto your roll bars and house individual speakers inside a protective enclosure. Because the pods can be aimed toward the driver and passenger, they deliver more directional audio than a portable unit.
UTV Speaker Bar
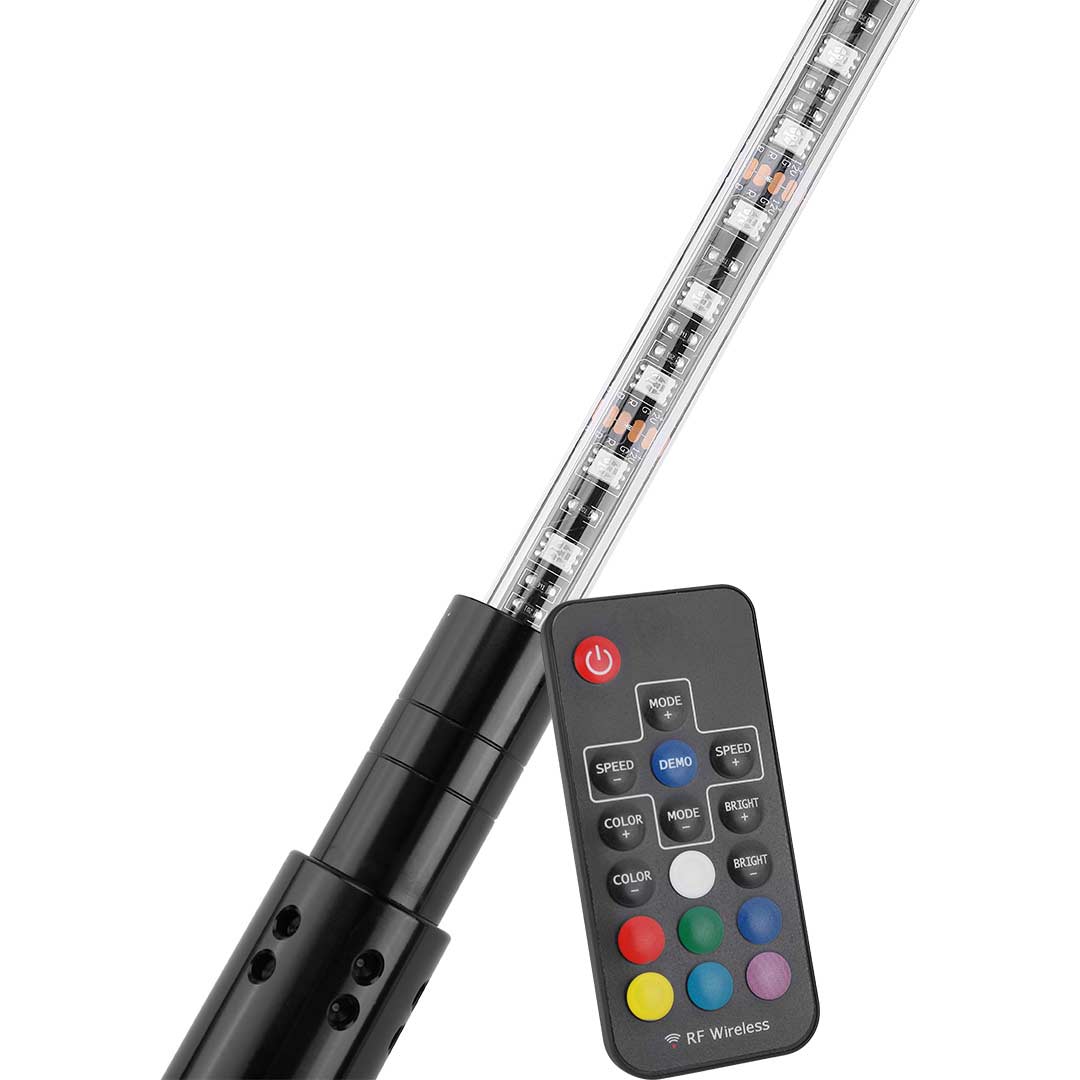
A UTV speaker bar is a single, self-contained unit that spans the width of your roll cage and houses multiple drivers (speakers) in one housing. If sound quality is your top priority, this is the option to choose. A good UTV speaker bar produces crisp highs, strong mids, and solid bass — all in one clean, weather-resistant package. Kemimoto's UTV speaker bar lineup includes models with built-in amplifiers, Bluetooth connectivity, USB ports, and RGB lighting, making them an all-in-one upgrade for serious riders.

Quick Comparison: UTV Speaker Types at a Glance
|
Feature |
Portable Speaker |
UTV Speaker Pods |
UTV Speaker Bar |
|
Installation difficulty |
Very easy |
Moderate |
Easy to moderate |
|
Sound quality |
Basic |
Good |
Best |
|
Weatherproofing |
Varies |
Good |
Excellent (IP65/IP66) |
|
Permanent mounting |
No |
Yes |
Yes |
|
Best for |
Casual riders |
Trail enthusiasts |
Music lovers & overlanders |
|
Power source |
Battery or 12V |
12V wired |
12V wired |
Before You Start: What You Need to Prepare
Taking a few minutes to prepare before you begin any UTV speaker installation saves time and prevents problems down the road.
Basic Tools and Supplies
Most speaker installs don't require professional tools. Here's what you'll want on hand:
-
Adjustable wrench and socket set
-
Phillips and flathead screwdrivers
-
Wire stripper and crimping tool
-
Electrical tape and zip ties
-
Inline fuse holder (for wired installs)
-
Multimeter (optional but helpful)
Know Your Power Source
Most UTV speakers, whether pods or a sound bar, run on 12V power. You have two connection options. The first is the cigarette lighter port, which is the quickest and requires no wiring. The second is hardwiring directly to the battery, which gives a cleaner, more reliable connection. For permanent installations like speaker pods and a UTV speaker bar, hardwiring is usually the better choice. Always use an inline fuse when running power directly to the battery to protect both the speaker and your vehicle's electrical system.
How to Install Portable Speakers on Your UTV
Portable speaker installation is the most straightforward of the three. The process is simple and can usually be done in under 10 minutes.
-
Choose your mounting spot. The roll cage or rear grab bar are common positions. Make sure the speaker won't block your view or get in the way of passengers.
-
Attach the mounting clamp or strap. Most portable speakers include a universal clamp. Tighten it securely around the bar so it won't vibrate loose on rough terrain.
-
Connect power. If the speaker uses a battery, make sure it's charged before heading out. If it runs on 12V, plug it into the cigarette lighter port.
-
Pair your device. Enable Bluetooth on your phone and connect to the speaker. Most units connect quickly and remember your device the next time.
-
Test it. Play music at different volume levels and check that the speaker doesn't rattle against the mount.
How to Install UTV Speaker Pods
UTV speaker pods give you a more permanent, focused sound experience. The installation takes a bit more effort, but the results are noticeably better.
Step 1: Pick your roll bar location. The most popular spot is the rear section of the roll cage, positioned behind the seats. This places the sound near ear level. Make sure there's enough clearance so the pods won't hit passengers or helmets during bumpy rides.
Step 2: Attach the mounting clamps. Slide the clamps around the bar and hand-tighten first to position them correctly, then snug them down with a wrench.
Step 3: Install your speakers into the pod enclosure. Drop your speakers into the UTV speaker box enclosure and secure them with the included self-tapping screws. Make sure the speaker grille faces the direction you want the sound to travel — angled toward the driver and passenger works best.
Step 4: Run your speaker wires. Route wires along the frame, following the existing factory wiring as closely as possible. Use zip ties every 6 to 12 inches to keep wires from flapping. Keep signal wires (RCA cables) on the opposite side of the frame from power cables to reduce electrical interference.
Step 5: Connect power. If you're running an amplifier, connect your amp to the battery with a fused power cable. Route the ground wire to a clean, unpainted section of the frame. Connect speaker wires to the amp's output terminals, matching positive to positive and negative to negative.
Step 6: Test for sound and adjust aim. Power up and play music. If your pod mounts allow swivel adjustment, aim the speakers toward the seating area. Adjust until the sound feels balanced between driver and passenger.
How to Install a UTV Speaker Bar
Installing a UTV speaker bar is surprisingly quick. Many riders complete the job in about 20 minutes without any drilling.
Step 1: Choose your mounting position. The roll cage is the most popular spot, typically the overhead bar above the driver and passenger or the rear crossbar. Some riders mount the bar on the front cage section for a dash-facing setup. Just confirm that the bar diameter fits your model's clamp range.
Step 2: Slide on the O-ring mounting brackets. Kemimoto's UTV speaker bar uses O-ring clamps that wrap around the cage bar. No drilling is needed. Position the bar where you want it, then slide the brackets into place.
Step 3: Tighten the clamps evenly. Use a wrench to tighten each clamp alternately so the bar sits level. Don't fully tighten one side before the other — this keeps the bar straight and prevents wobble.
Step 4: Connect power. Plug the included cigarette lighter cable into your 12V port for a quick setup, or use the DC converter to hardwire directly to the battery with a fuse for a cleaner, more permanent result.
Step 5: Pair your device and set audio preferences. Power on the bar and connect your phone via Bluetooth. Many Kemimoto models also support AUX and USB inputs. If your bar has an EQ preset mode (such as rock, jazz, or flat), select the one that suits your music.
Step 6: Final check. Play music and listen for any rattles. Check that the bar doesn't shift under vibration. Take the UTV for a short test drive and make any last adjustments to clamp tightness or EQ settings.
If you find the text too abstract, you can watch our installation video.
Wiring Tips to Get the Best Sound
Good wiring is what separates a clean, reliable installation from one that causes problems on the trail. Keep these points in mind for any permanent UTV speaker installation:
-
Always place an inline fuse as close to the battery as possible
-
Use zip ties or cable clips to secure wires every 6 to 12 inches along the frame
-
Keep power cables and signal cables on opposite sides of the vehicle
-
Avoid running wires near the engine, exhaust, or steering column
-
Use heat-resistant wire sleeves in areas close to hot surfaces
-
Ground your components to a bare metal surface on the frame, not to a painted area
For riders who want to go deeper into system planning, Kemimoto's DIY UTV sound system guide covers amplifier selection, component pairing, and advanced wiring strategies in detail. If you're still deciding between a portable unit and a permanently mounted setup, the portable speaker vs. installed soundbar comparison on the Kemimoto blog is a helpful read before you buy.
Final Thoughts
Adding audio to your UTV doesn't have to be a complicated project. Portable speakers work well for riders who want a flexible, no-commitment setup. UTV speaker pods deliver directional sound and a more permanent feel. And when music quality is the top priority, a UTV speaker bar is the clear winner — delivering rich, powerful audio through a single, easy-to-mount unit.
Kemimoto offers high-quality UTV sound systems, each built to handle the dust, vibration, and weather that come with real off-road use. Whatever type you choose, following the right installation steps and wiring practices will help you get the most out of your system for years to come. Explore Kemimoto's full UTV speaker collection to find the right fit for your ride.


