


The Ultimate Guide to Building a DIY UTV Sound System

There is nothing quite like the adrenaline rush of tearing through a muddy trail, conquering a rocky incline, or cruising through the dunes in your UTV. But as every off-road enthusiast knows, the roar of the engine and the whistling of the wind, while exciting, can sometimes use a soundtrack. Whether you are working on the farm or exploring the backcountry, music elevates the experience.
However, factory-installed audio systems in most side-by-sides are often underwhelming—if they exist at all. This has led to a massive surge in owners taking matters into their own hands. Building a DIY UTV sound system is not just about saving money; it’s about customization, pride of ownership, and ensuring your audio gear can withstand the brutal environments of the off-road world.
In this comprehensive guide, we will walk you through everything you need to know about setting up a sound system.
Why Go DIY for Your UTV Audio?
Building your own system isn’t just about saving money (though that is a major perk). It’s about control.
-
Customization: Would you like to have a DIY surround sound system experience with speakers in the front, rear, and overhead? Or do you just want a simple, loud soundbar? When you do it yourself, you decide the configuration.
-
Durability: Off-roading is brutal on electronics. When you build the system, you know exactly how well the wires are insulated and where the "weak points" are.
-
The Pride of Ownership: There is a unique satisfaction in hitting a button and hearing crystal-clear audio from a system you wired and mounted yourself.
Planning Your DIY UTV Sound System
Before you buy a single wire, you need a plan. Unlike a car, a UTV is an "open-air" environment. This means you aren’t just fighting wind noise; you are fighting the engine, the tires, and the lack of a roof or doors to bounce sound back to your ears.

Step 1: Define Your Goals
Are you looking for background music while you work, or do you want a system that becomes the centrepiece of the campfire party?
✔ The Minimalist: A single high-quality Bluetooth soundbar.
✔ The Audiophile: A multi-component system with a head unit, separate amplifiers, four speakers, and a subwoofer.
✔ The Party King: A system featuring "Party Mode" connectivity (like Kemimoto’s Midnight series) that allows you to sync multiple vehicles together.
Step 2: Choose Your Source
Where will your music come from?
✔ Bluetooth Controller: The most popular DIY choice. It’s small, waterproof, and connects directly to your phone.
✔ Head Unit (Gauge Style): Fits into a standard 3-inch circular opening on the dash. It gives you AM/FM radio and more physical control.
✔ All-in-One Soundbar: The "brain" is built in. You just provide power.
Core Components: The "Must-Haves"
To build a rugged UTV sound system, you need marine-grade components. Standard car audio will rust and fail within months of exposure to dust and moisture.
1. The Speakers (The Heart of the Build)
You have three main mounting styles for UTVs:
-
Overhead Systems: These mount to the top roll bars. They stay away from mud and water and provide excellent sound imaging because they are close to your head.
-
Pod Speakers: These are "wakeboard-style" pods that clamp onto the vertical or horizontal roll bars. They are highly directional, meaning you can aim them right at your ears.
-
Dash/Kick Panel Speakers: These are mounted lower. They provide good mid-range sound but are more susceptible to mud splashes.
2. The Amplifier
If you aren’t using a powered soundbar, you need an amp. Look for a Class D amplifier. Why? They are smaller, more efficient, and run cooler than older Class A/B amps—crucial for a UTV with limited space and battery capacity.
3. Wiring and Protection
Never use household or basic car wire. You need:
-
OFC (Oxygen Free Copper) Wire: Resists corrosion better than cheaper aluminium-clad wire.
-
Marine-Grade Fuses: An absolute must for safety.
-
Heat-Shrink Connectors: To ensure every connection is waterproof.
Step-by-Step: Setting Up a Sound System
Ready to get your hands dirty? Here is the general workflow for a DIY installation.
Phase 1: Mounting
Position is everything. In a UTV, sound drops off quickly as distance increases.
-
Aiming: High notes (treble) are very directional. Aim your tweeters or pods directly at the driver/passenger headrests.
-
Clearance: Check your "head clearance." Ensure that during a bumpy ride, your helmet or head won't strike the speakers. Kemimoto’s overhead systems are specifically designed with a low profile to prevent this.
Phase 2: Routing the Wires
This is where most DIYers fail. A "clean" install is a "safe" install.
-
The Route: Follow the factory wire looms whenever possible. Use zip ties every 6–12 inches to secure wires to the frame.
-
Avoiding Heat: Keep wires away from the engine, exhaust, and moving parts like the steering column or suspension.
-
Separation: If running RCA (signal) cables and power cables, try to run them on opposite sides of the machine to prevent "alternator whine" or electrical interference.
Phase 3: The Power Connection
Always disconnect the battery before you start.
-
The Fuse: Install an in-line fuse within 12 inches of the battery. This protects the entire machine from a fire if a wire gets pinched or shorted.
-
The Ground: Don’t just screw the ground wire into plastic. Find a solid, unpainted metal part of the chassis, or run the ground back to the negative terminal of the battery.
The "Easy" DIY Hack: The Modern UTV Soundbar
Let’s be honest: not everyone wants to spend 10 hours crimping wires and drilling into their dash. If you want a UTV sound system that installs in 20 minutes but sounds like a professional build, a high-end soundbar is the answer.
Kemimoto Speakers are designed for the DIYer who wants maximum "bang for the buck."
Why Choose Kemimoto's Speakers
1. Built for "Abuse" (Marine-Grade Durability)
Unlike standard car audio, Kemimoto speakers are purpose-built for off-roading.
-
Weatherproofing: Most models are designed for off-road riding, meaning they can handle dust and water, making you less worried during the riding time.
-
Resilient Housing: They use marine-grade aluminium alloy rather than plastic. This helps with heat dissipation and prevents the unit from rattling or cracking under extreme vibrations.

2. "Midnight Series" Innovation
The Midnight Series is a major draw for Kemimoto due to specific high-end features:
-
DSP (Digital Signal Processing): This ensures that even at high volumes, the sound remains distortion-free, allowing the music to cut through engine and wind noise.
-
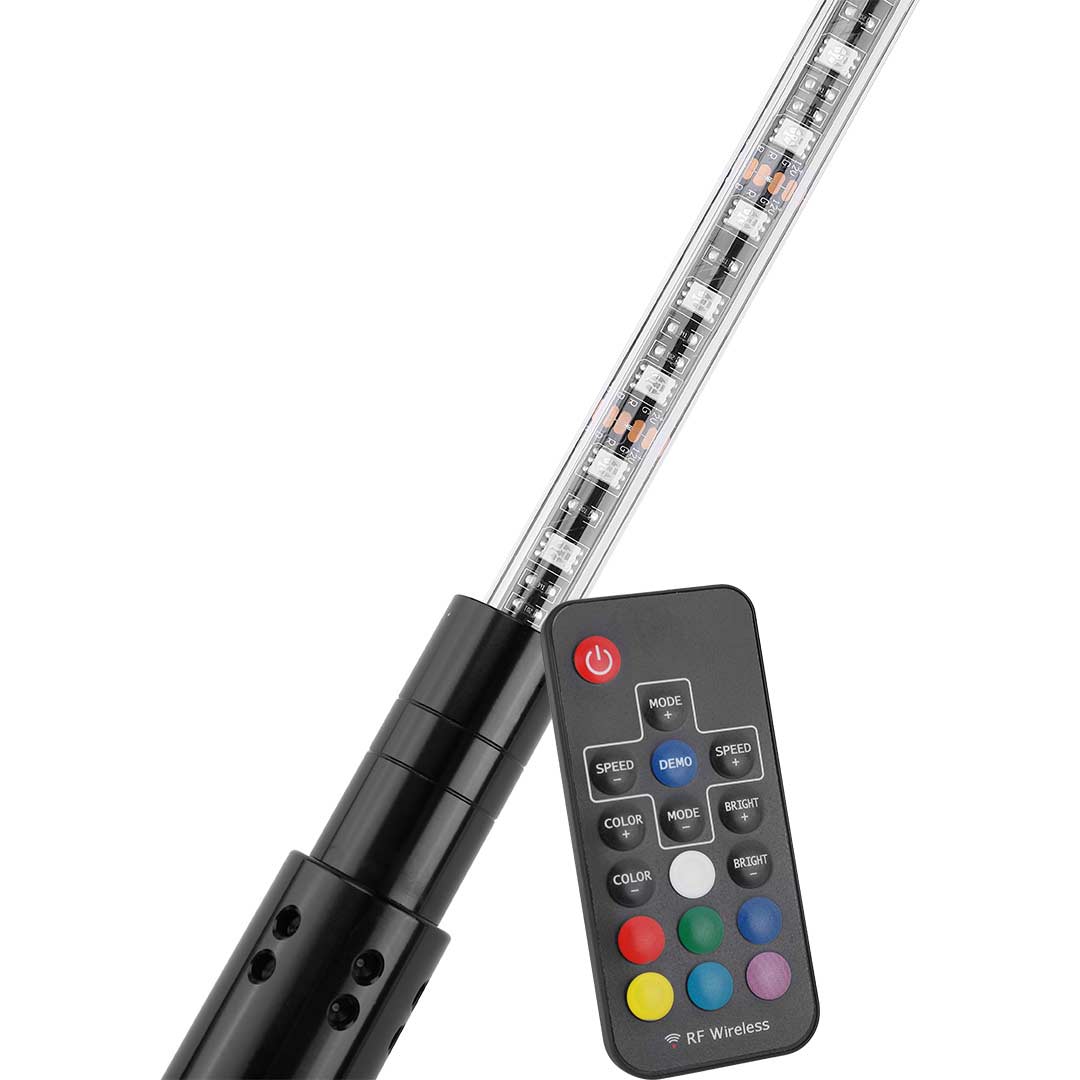
RGB Visuals: They feature 200+ lighting modes that can sync to the beat of your music via an app, adding a "party" element to night rides.
-
Dome Light Mode: A practical feature where the RGB lights switch to a bright white "reading light," useful for checking maps or gear in the dark.
-
Stronger Weatherproof capabilities
-
The "Party Mode" Ecosystem: If you ride in groups, Kemimoto offers a "Party Mode" (TWS technology) that allows you to wirelessly sync two or more soundbars together. This creates a massive, unified soundstage for campfires or group stops.

3. Hassle-Free DIY Installation
Kemimoto is highly rated for its "plug-and-play" design:
-
Quick-Clip Mounts: They allow you to mount or remove the speaker in seconds.
-
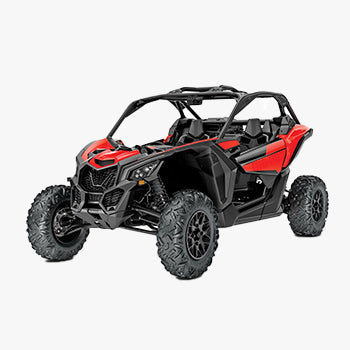
Universal Fit: Most speakers are designed to fit almost any roll cage diameter (typically 1” to 2”), making them compatible with Polaris RZR, Can-Am X3, Honda Pioneer, and even golf carts.
Conclusion
Building a DIY UTV sound system is one of the most rewarding upgrades you can give your machine. It turns a standard trail ride into an epic journey. Whether you go the full-custom route with a DIY surround sound system or choose the streamlined power of a Kemimoto UTV soundbar, the key is to prioritize marine-grade quality and safe wiring. (Use the discount code "KMSEO", and you can enjoy an extra 15% off sitewide!)
Don’t settle for the sound of the wind. Take control of your audio, follow the steps above, and hit the trails with a system that sounds as tough as your UTV looks.
Ready to start your build? Check out the latest in off-road audio technology at Kemimoto and get the gear that’s built for the dirt.


