
























UTV Overhead Fan Installation Guide: Mounting, Wiring, and Testing

Anyone who has spent a summer afternoon in a side-by-side knows how quickly the cab can heat up. A roof and windshield help keep out sand and dust, but they can also trap warm air around the driver and passengers. That is why UTV overhead fans have become a popular upgrade for off-road riders, hunters, and farm operators who spend long hours behind the wheel.
This guide covers the practical steps for installing a UTV overhead cooling fan, including how to measure the mounting area, secure the fan, connect the wiring, and test the system before your first ride. Here is what this guide covers:
- Why a sxs overhead fan becomes more important after adding doors or a windshield
- What to check before buying or installing a fan
- A simple step-by-step installation process
- Safe wiring tips for 12V UTV electrical systems
- How to test the fan and adjust the airflow after installation
Why Your UTV Cab Needs an Overhead Cooling Fan
Once a roof and windshield are installed, airflow through the cab drops noticeably, especially at low speeds or while idling. A side by side overhead fan keeps air moving without relying on the vehicle’s speed.
- Lowers cabin temperature during hot trail rides and slow work tasks
- Clears stagnant air, moisture, and odors from an enclosed cab
- Reduces windshield fogging in cool or rainy weather
- Keeps riders more alert, since heat fatigue is a real safety issue on long drives
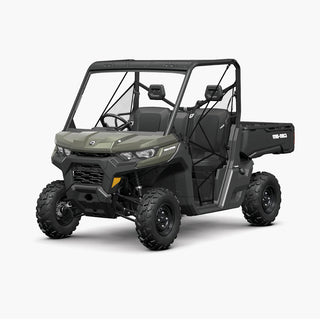
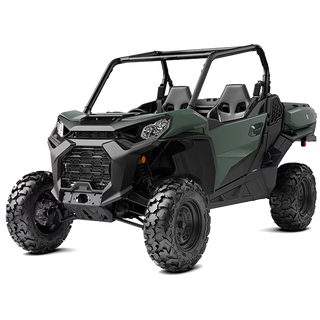
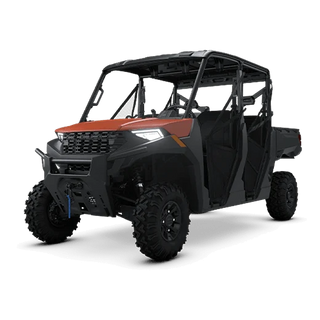
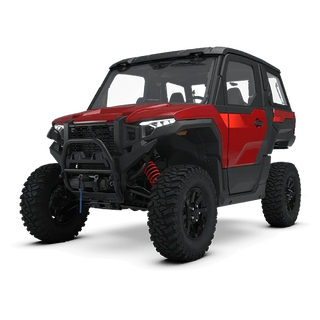
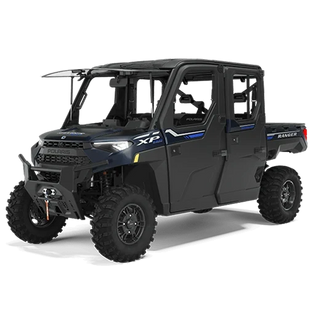
For Polaris and Can-Am owners, a Polaris ranger overhead fan or Can-Am Defender fan can be useful. Both models are commonly fitted with full cab enclosures, which provide protection from the weather but can also trap heat inside.

Before You Start: Checking Fit and Gathering Tools
A rushed install is the most common reason a fan underperforms. Before drilling or mounting any hardware, make sure the fan is compatible with your roof and that all the necessary tools are within reach.
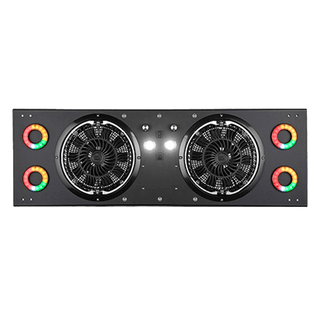
First, measure the inside width of the roof from one roll cage bar to the other. Kemimoto dual fan and RGB fan models fit roof widths from approximately 41.3 to 57.1 inches. For narrower cabs or vehicles with low roof domes, including certain Maverick X3, a single-head fan may be a better option and can fit widths down to about 36.6 inches.
|
Fan Type |
Roof Width Fit |
Lighting |
Best For |
|
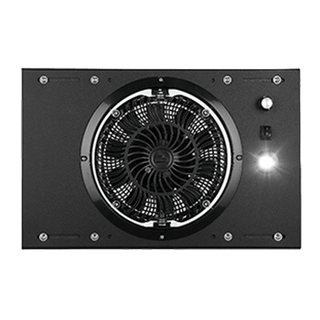
Single Overhead Fan |
36.6" to 53.0" |
White dome light |
Narrow-roof or low-dome cabs |
|
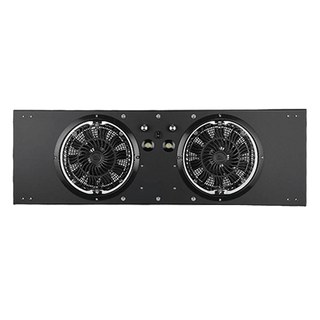
Dual Overhead Fan |
41.3" to 57.1" |
White dome lights |
Wide-roof daily trail and work rides |
|
Dual Overhead Fan with RGB |
41.3" to 57.1" |
White dome light plus RGB halo rings |
Night rides and social riding |
Once you have confirmed the fit, prepare a tape measure, a drill with the bit size specified in the installation instructions, and a socket set or wrench for the included hardware. You may also need wire crimpers or screw-in connectors for the electrical connections, along with zip ties to keep the wiring secure and organized. A test light or multimeter is also useful for checking the power supply before completing the installation.
Step-by-Step Mounting Guide for SXS overhead fan
Installing an overhead fan is relatively simple once you have confirmed the roof dimensions and cleaned the mounting area. Make sure the surface is free from dust, grease, and loose debris before you begin.
- Measure and mark the mounting position. Center the fan bracket on the roof frame or roll cage crossmember. Keep it away from factory wiring, roof seams, and any existing accessories.
- Check the bracket position. Hold the fan bracket in place and make sure both fan heads can tilt and rotate freely without touching the windshield frame, roof edge, or other overhead components.
- Drill pilot holes if needed. Follow the mounting pattern provided in the installation instructions. Drill slowly and carefully to avoid damaging thin roof material or drilling deeper than necessary.
- Secure the fan with the included hardware. Tighten the bolts evenly on both sides so the bracket sits flat and remains stable. Avoid overtightening, which may damage the roof or mounting surface.
- Adjust the fan heads. Each fan can be moved from side to side and angled forward or backward. Direct one fan toward the driver and the other toward the passenger, then secure them in the preferred positions.
Wiring Your UTV Overhead Fan Safely
Wiring is one of the most important parts of the installation. Most problems come from connecting the fan to the wrong circuit, using a poor ground, or leaving the system without proper fuse protection. Taking time to route and secure the wiring correctly will help your UTV overhead fan operate reliably on rough terrain.
Connect the fan’s power lead to a switched 12V accessory circuit rather than a constant power source. This ensures the UTV overhead cooling fan turns off with the ignition and does not drain the battery while the vehicle is parked. If the wiring harness does not include a fuse, install an inline fuse close to the power connection for added protection.
Run the wires along the roll cage and secure them with zip ties. Keep the harness away from moving parts, sharp edges, hot exhaust components, and areas where the wiring could be pinched by doors or roof panels.
Leave any extra wire neatly secured instead of cutting it, as the additional length may be useful if the fan needs to be repositioned later.
Before turning on the ignition, check that every connector is fully seated and that the wiring cannot move freely. Loose connections are a common cause of intermittent operation when the UTV travels over bumps or uneven trails.
Testing and Adjusting Airflow of the Overhead Cooling Fan
Once the fan is mounted and wired, take a few minutes to test the system before your next ride. This final check confirms that the UTV overhead cooling fan operates smoothly and directs airflow where it is needed.
- Turn the key to the accessory position, then rotate the variable-speed dial from low to high. Listen for smooth, steady operation at every setting.
- Adjust each fan head by hand to confirm that both units move independently and stay in the selected position.
- Test the dome light or RGB lighting separately from the fan to make sure the independent controls work correctly.
- Sit in both the driver and passenger seats to check airflow coverage. Fine-tune the fan angles until both seating positions receive comfortable airflow.
- Start the engine and let the side by side overhead fan run briefly. Make sure it does not cause a noticeable voltage drop or trigger any warning lights.
If the sxs overhead fan runs unevenly or one fan head feels weaker than the other, check the wiring and power connections again before assuming the unit is faulty.

Choosing the Right Overhead Fan for Your Ride
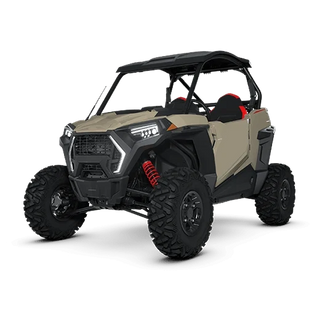
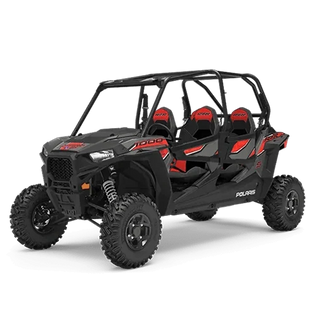
The right fan depends on your vehicle, how you use it, and how much airflow you need. A RZR overhead fan used for weekend trail rides may have different requirements from a side by side overhead fan installed on a Ranger used every day for farm work or hunting.
- Choose a single fan for narrow roofs, low-dome cabs, or situations where a compact and affordable setup is the priority.
- Choose a dual fan for wider roofs or when both the driver and passenger need strong, independently adjustable airflow.
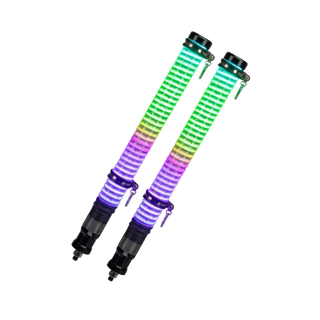
- Choose a dual fan with RGB lighting for night rides, camping trips, or a customized cabin setup that can sync with a compatible Kemimoto speaker system.
Choosing the right setup will help your side by side overhead fan deliver better airflow without affecting headroom, visibility, or other cab accessories.
Conclusion
A UTV overhead fan is a simple upgrade that can make every ride more comfortable. Once you confirm the roof size, secure the mounting bracket, connect the wiring to a fused switched circuit, and test each function, you can enjoy better airflow, less windshield fog, and a more comfortable cab.
Whether you choose a single fan for a narrow or low-roof vehicle or a dual RGB setup for night rides, careful installation is the key to reliable performance. Take extra time with the wiring and final adjustments so the fan stays secure and delivers airflow to the right areas. Explore Kemimoto UTV overhead fan options to find the right setup for your vehicle.


